Welcome
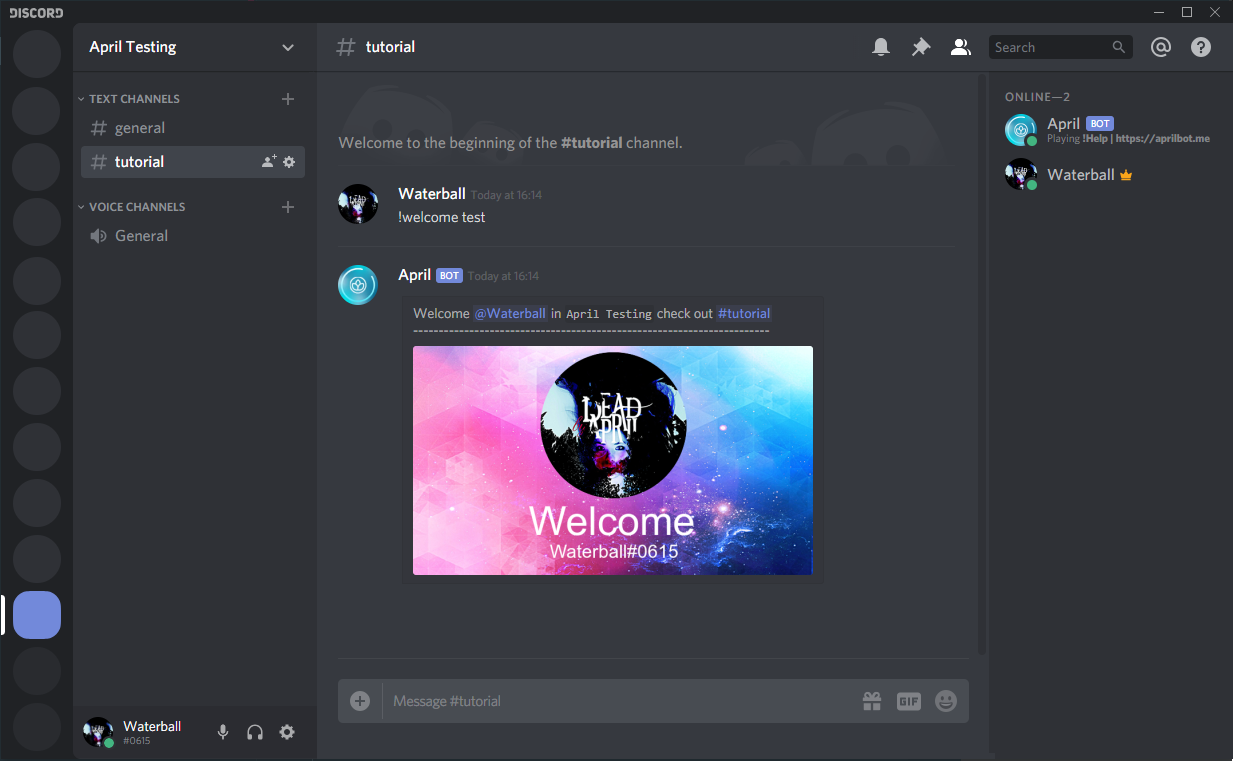
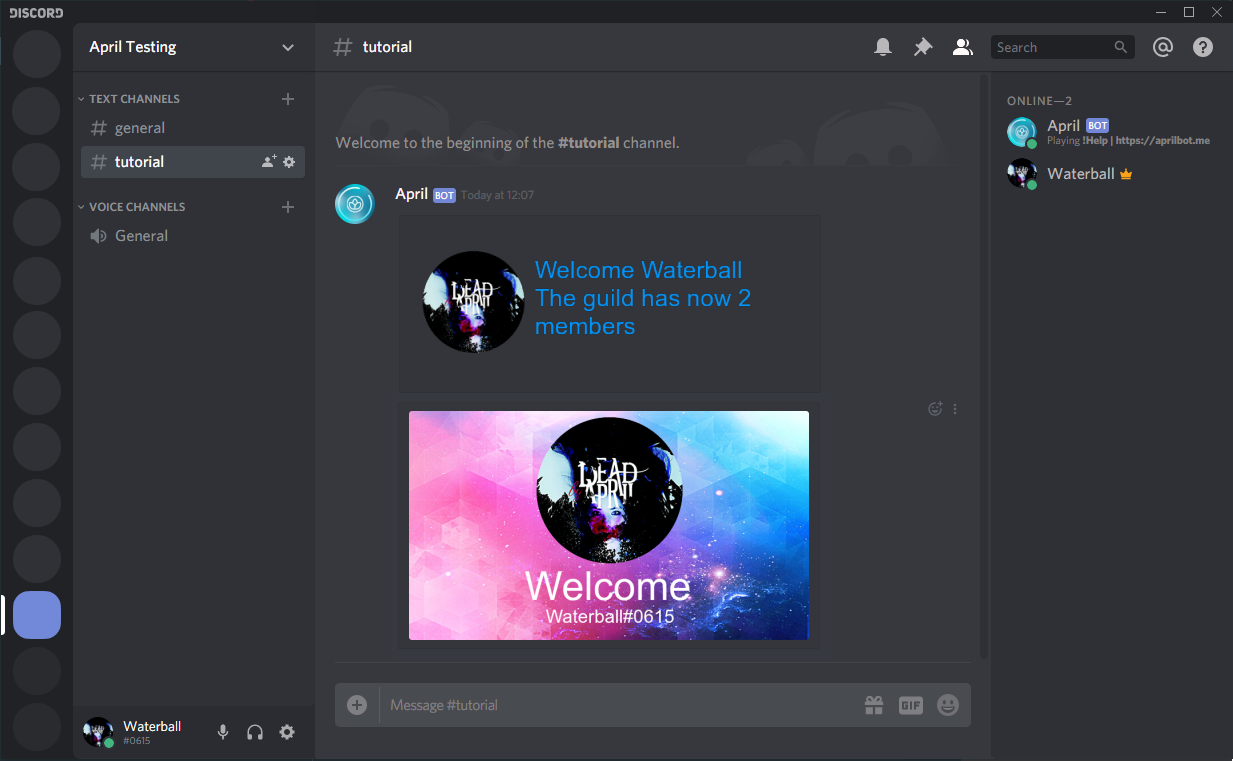
Welcome has a variety of service that allow you to best welcome your new user as you want, in this guide we walk through how to setup welcome image messages and how to customize the image, but you can always disable the image feature and personalize only message to send on user join. below an example of how a welcome image looks like.
Get to welcomer setup page
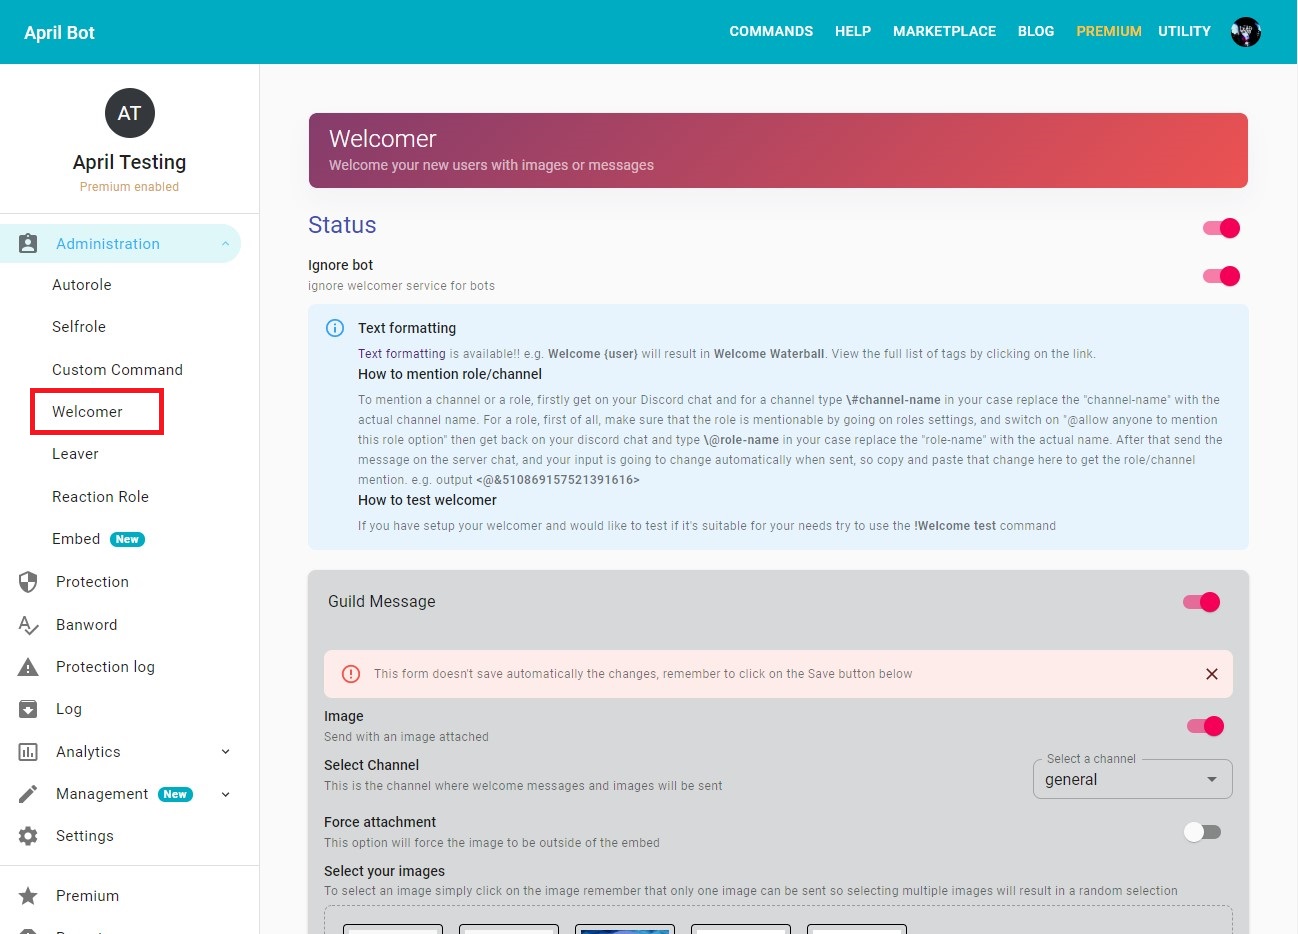
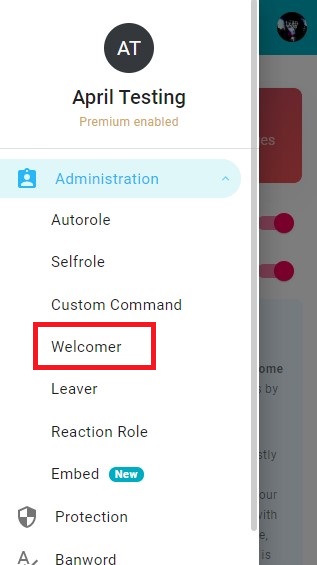
First of all you need to be logged, follow this guide to login on the dashboard, and select your target guild then you should be able to see the sidebar with your server name, on the sidebar click on administration button that should expand below with more options, therefore click on Welcomer option and you can now edit your leaver settings!
- On desktop
- On mobile, you can view the sidebar by swiping from the left side to the centre or by clicking on the hamburger menu icon on the top navigation bar available when you have selected a server
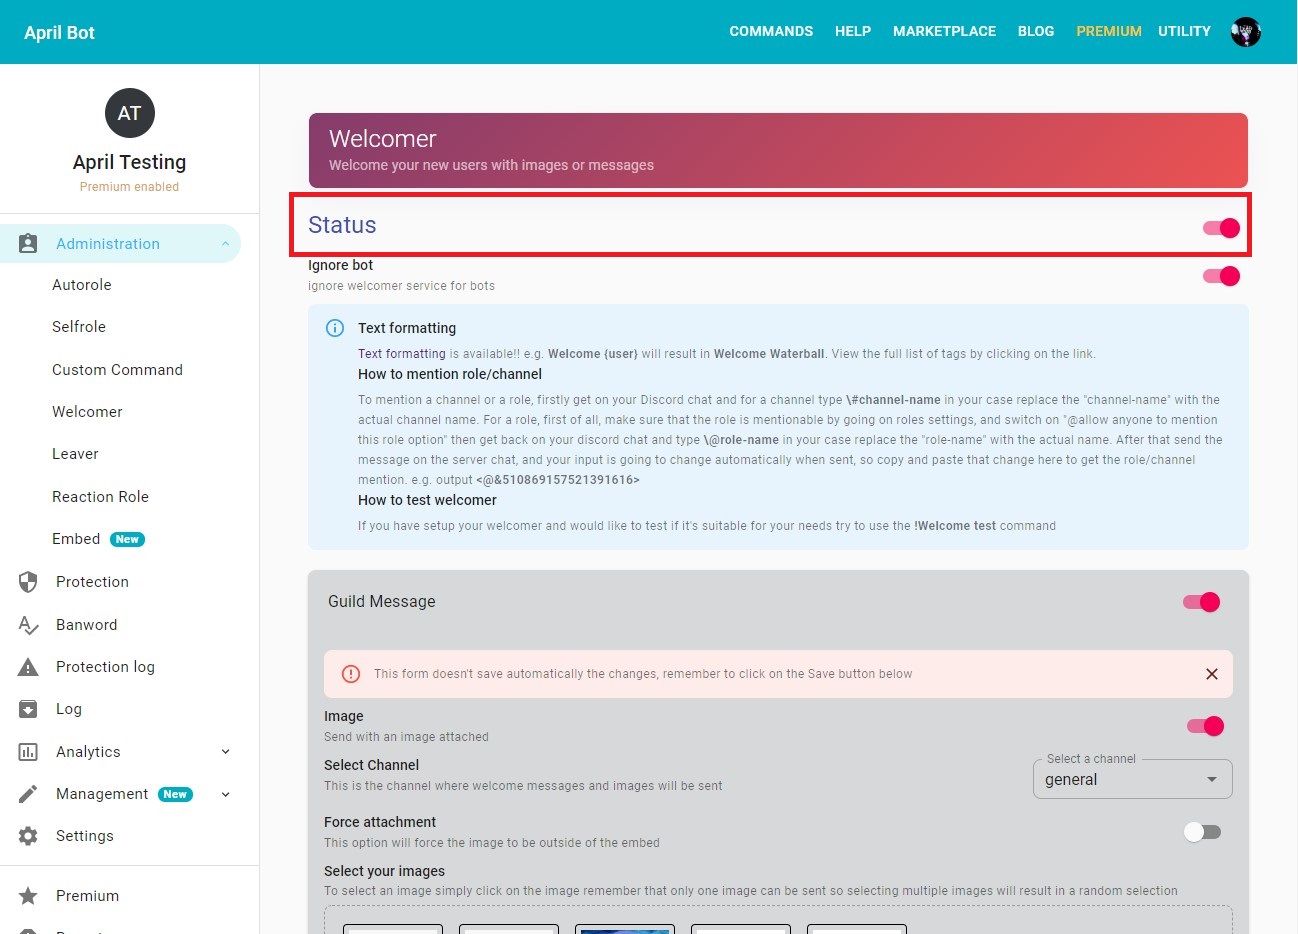
Enable/disable welcome service
Enabling welcome service is really easy, first of all get on the welcome setting page as showed previously and simply turn on the switcher. And the welcome service will be operative for your server. You'll need to configure the service in order for it to work.
Enable and configure welcome images
First of all make sure you have the guild message enabled and set a channel and the image switch is on. You can set a channel by just going on the select a channel section and selecting the wanted channel, also if you haven't choose a channel yet, the section will have red borders. Make sure your image switch is on by going on the image section and turn on the switch. If you have turned on the Image option you'll see below the Select your images section and in here you can choose your images, if you cannot see any images then click on the create new image button and create one to be able to choose one for your leaver.
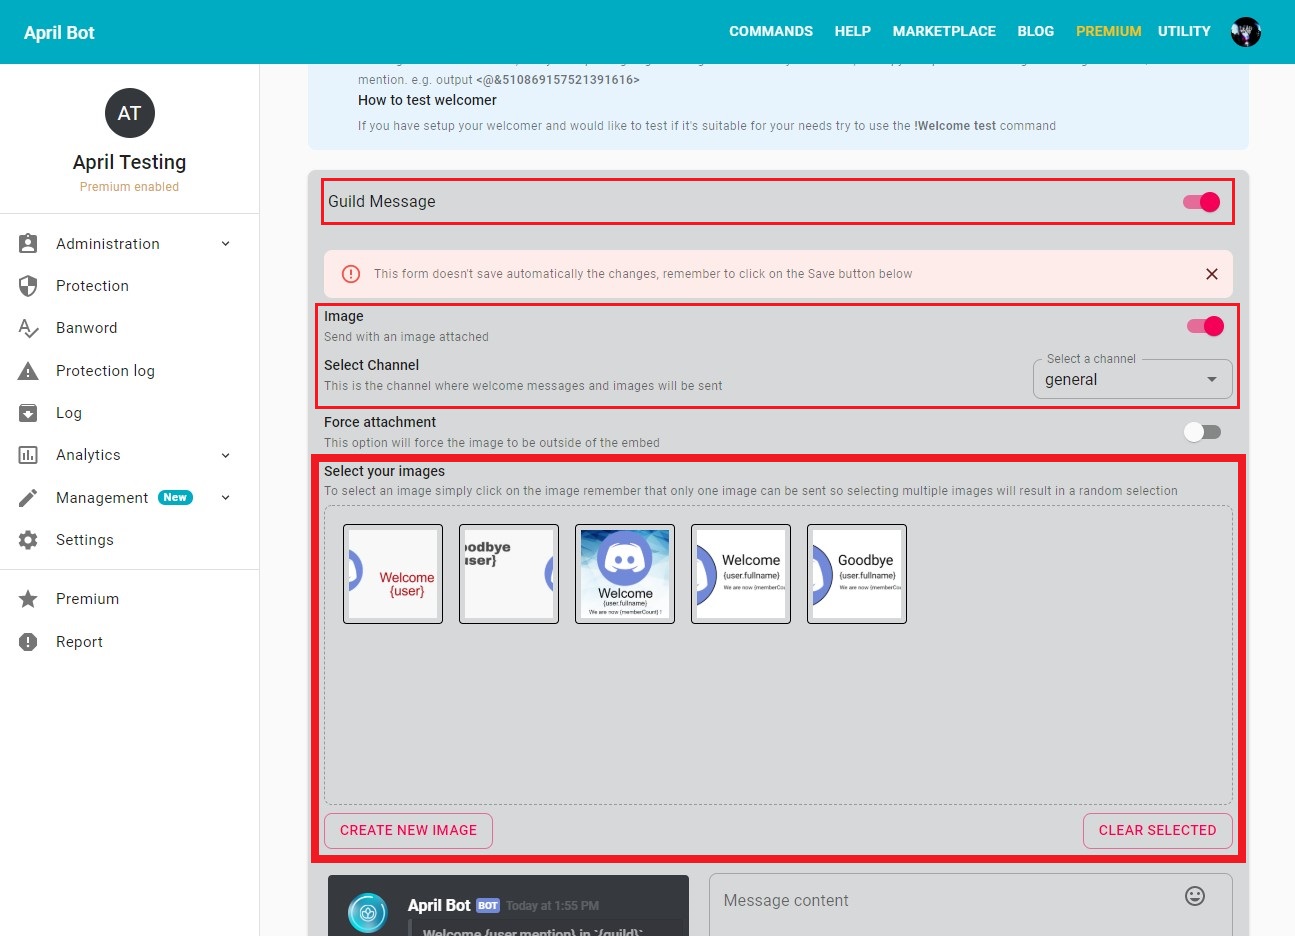
If you don't have create an image yet you can click on the CREATE NEW IMAGE button that will take you to your images and where you can create one by using a plain design or using a template. In addition you can purchase image from the marketplace so you don't have to worry about creating one. After you have create your image or if you already had one you can simply tap or click on the image to select it, selecting one or multiple images will have different effects:
-
If you select one image then that image will always be attached to the message if settings permit it
-
If you have selected multiple images then one random image will be sent between the selected images
More info about creating an image here
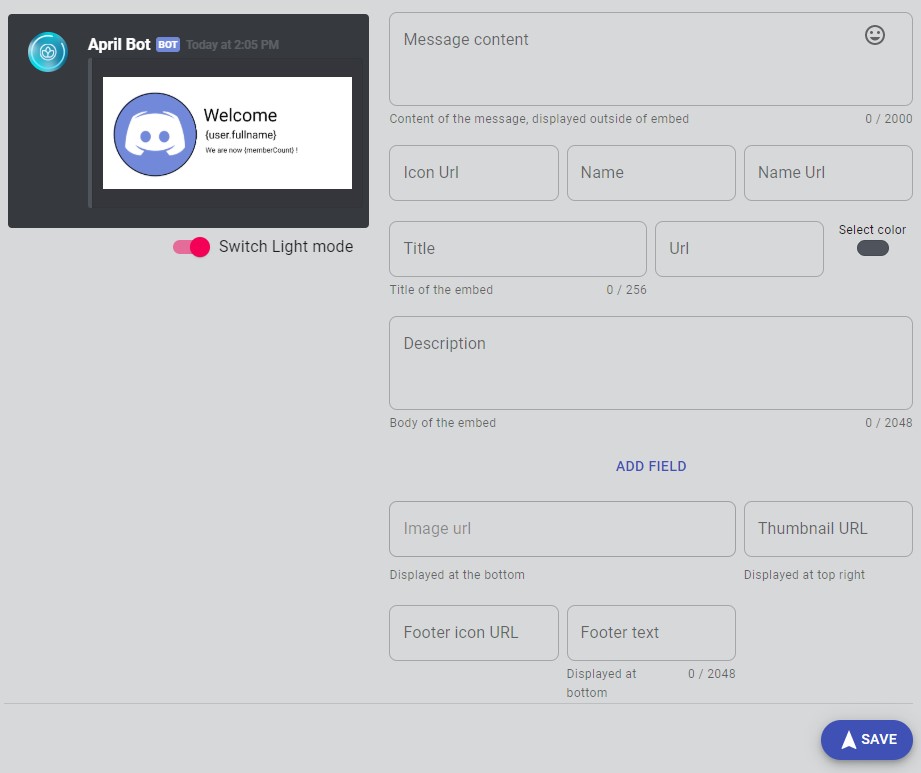
Configure a welcomer message
Would you like to attach a message to the message? below the image selection you can easily setup your message by editing the fields, you can also preview how your message is going to look like. you read more about embed messages here
Info
Remember to click on the save button once you are happy with your settings, if the button is disabled or grey then it just means that it's all already saved
- Text formatting is available to use, view all the tags available to use e.g. {user} will result in
Waterballor in your case the user who just joined.
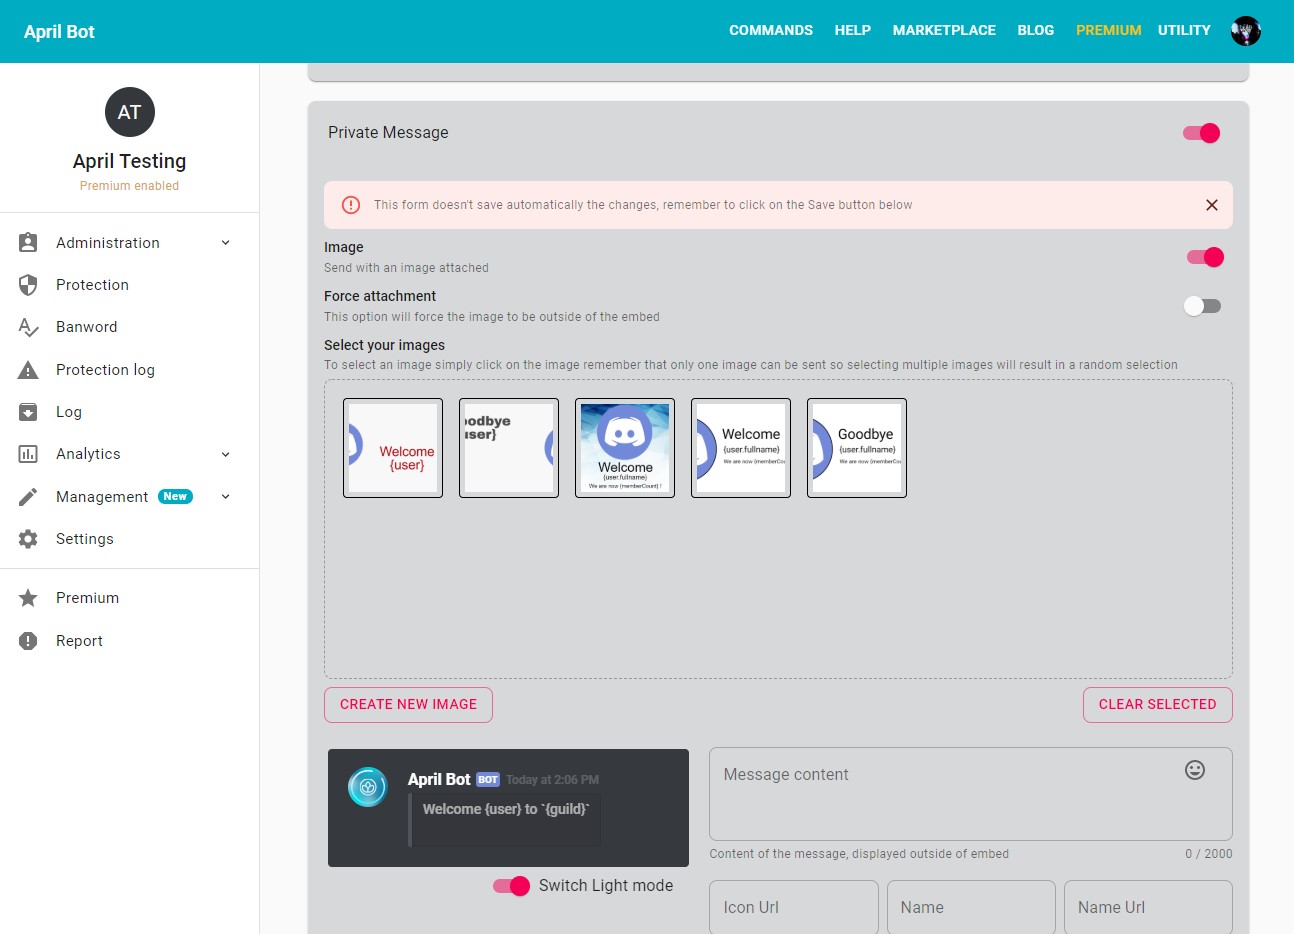
Configure a welcomer private message
In addition to the guild message you can add a private message so when a user join your server he'll get a direct message, you can also attach image to this message.
Ignore bot
The ignore bot and embed features are enabled by default, but you can disable them by just turning off the switch.
- Ignore Bot: It will ignore the leaver announcements for bots
Test
April allows you to test your welcomer service, you can either preview your image on the dashboard by going on the welcomer setting page and click on preview or directly emulate a user join on discord chat by typing
!Welcomer test